
Stretched image
Curves tool
Shapes contrast, brightness and colour: RGB curve, per channel, luminance and saturation.
How to use it
- Open Tools and click the tool: it is added after the selected step.
- Move its settings: the image follows as you move them (Live preview).
- Press Apply to keep the result. Before / after compares at any time.
On the image: right-click a region to put a point at its level, keep the button down and drag up or down. On the curve: click to add a point, drag it, right-click to remove it.
Settings
- RGB / R / G / B / L / S
- The curve being edited: the three colours together, one colour, luminance (brightness without colour shift) or saturation.
- Input / Output
- The level of the selected point, before and after.
- Open floating editor
- The same curve in a larger window.
- Mask
- Everywhere, Bright parts (the object, not the sky) or Dark parts. Stars are not in the mask.
- Threshold
- Where the mask starts, from the sky background (0 %) to the brightest part of the object (100 %).
When to use it
After the stretch, for the overall contrast and brightness. Can act through a mask.
Image
Works only on a stretched image.
Example
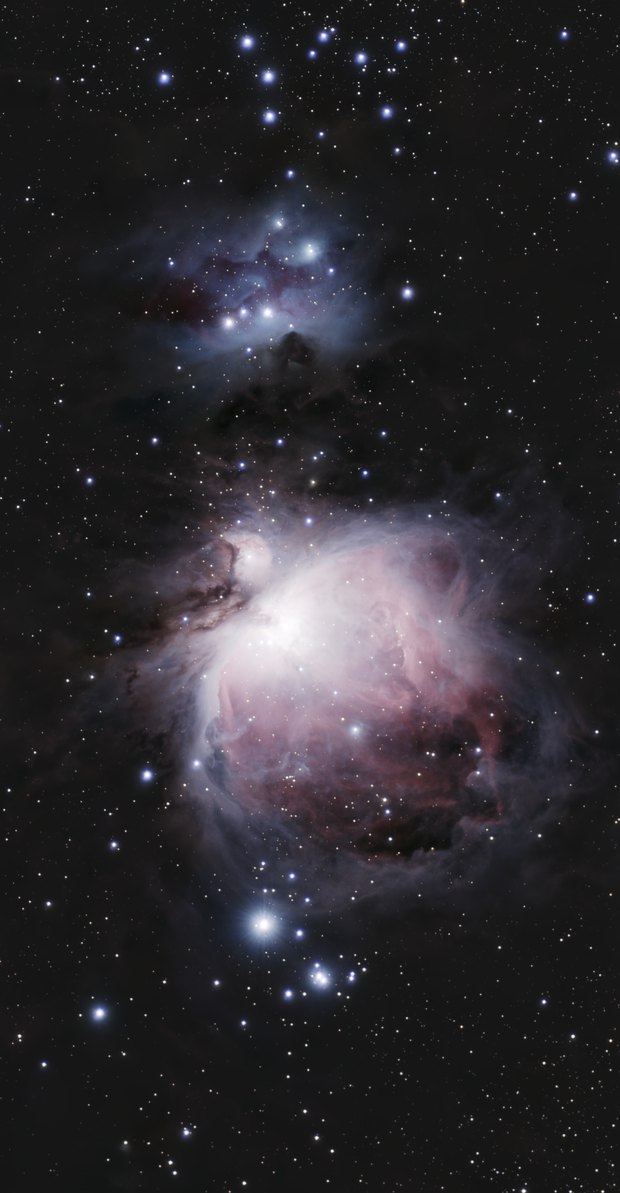
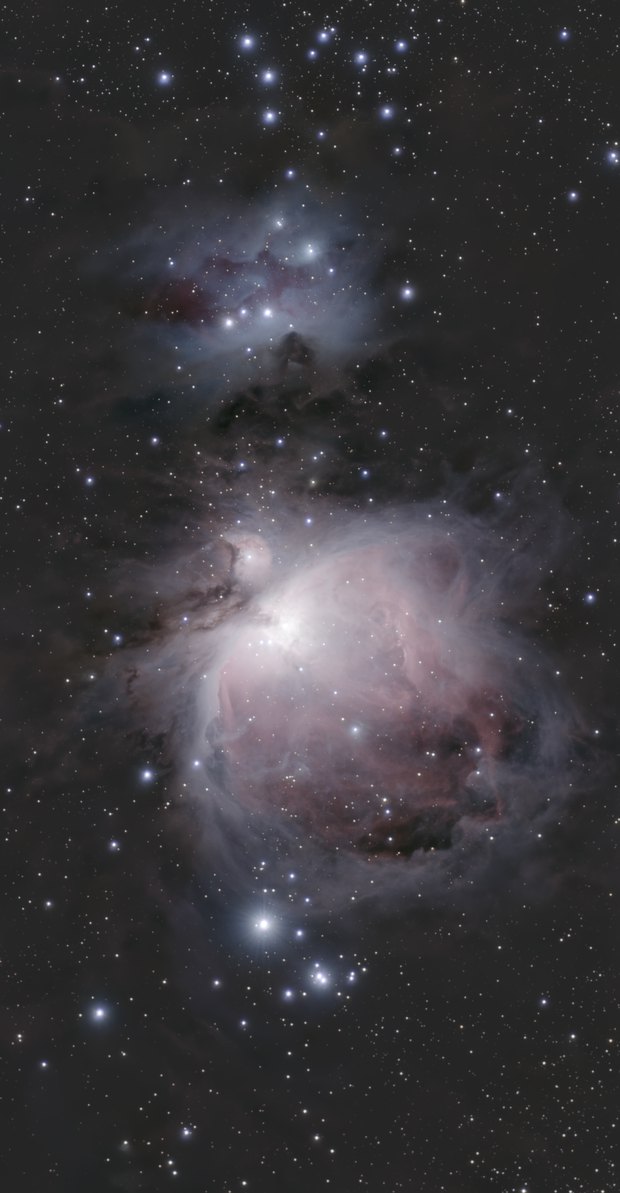 withoutwith Curves