
Stretched image
Faint nebulosity tool
Brings out the faint nebulosity around a bright object, in one click, region by region.
How to use it
- Open Tools and click the tool: it is added after the selected step.
- Move its settings: the image follows as you move them (Live preview).
- Press Apply to keep the result. Before / after compares at any time.
On the image: right-click a faint part you want out, keep the button down and drag up. It comes up, and the Range is set on it.
Settings
- Lift
- How far up the faint regions come.
- Range
- What counts as faint. Lower: fainter regions come up too, with their grain. Higher: only what is brighter.
- Black level
- Where the darkest part of the image ends up: 100 % leaves it, 0 % makes it black.
- Neutral black
- Counts the lift from a neutral grey when the darkest part of the image has a colour of its own (brown dust): removes the violet veil.
- Mask
- Everywhere, Bright parts (the object, not the sky) or Dark parts. Stars are not in the mask.
- Threshold
- Where the mask starts, from the sky background (0 %) to the brightest part of the object (100 %).
When to use it
When the faint outer parts of an object stay buried after the stretch. The Neutral black setting keeps a neutral background in dark nebulae.
Image
Works only on a stretched image.
Example
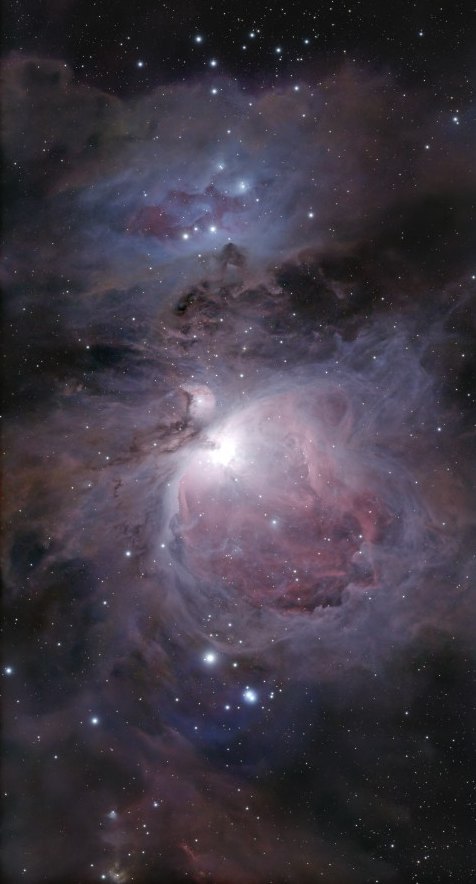
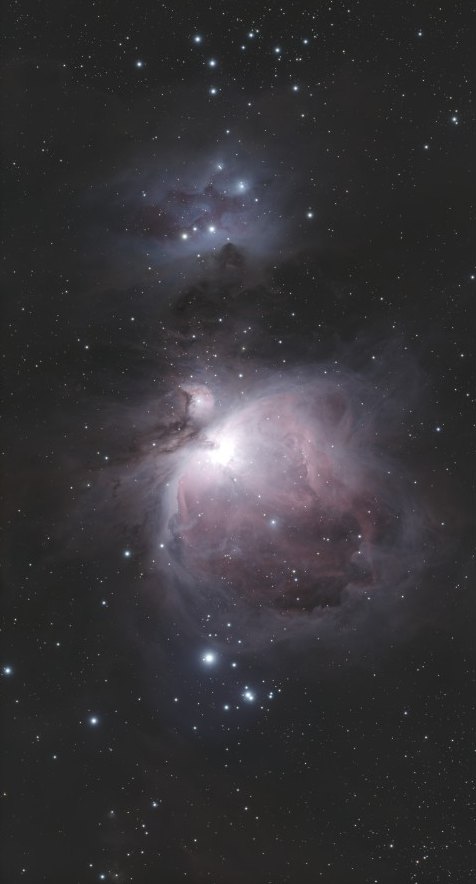 withoutwith Faint nebulosity